Many of us Clashers fight for a spot on the top of the leaderboards and the chance of immortalizing our name, declaring ourselves a true champion/victor. However, none of this can ever come to be unless we have a viable defense capable of withstanding constant bombardment from attackers, all with the same goal of being the best. We not only need a powerful
attack strategy, but also need a strong and durable defense.
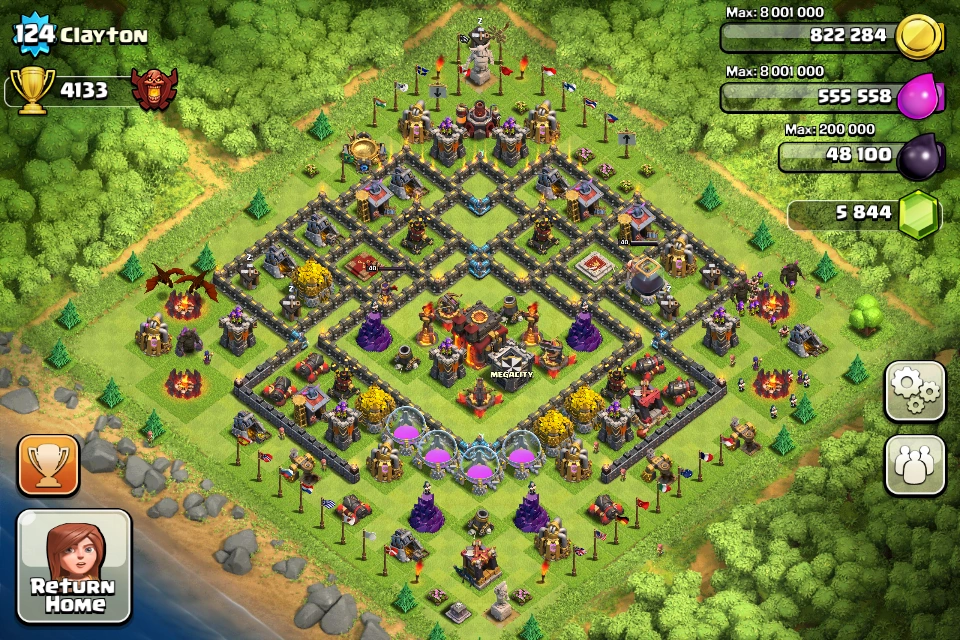
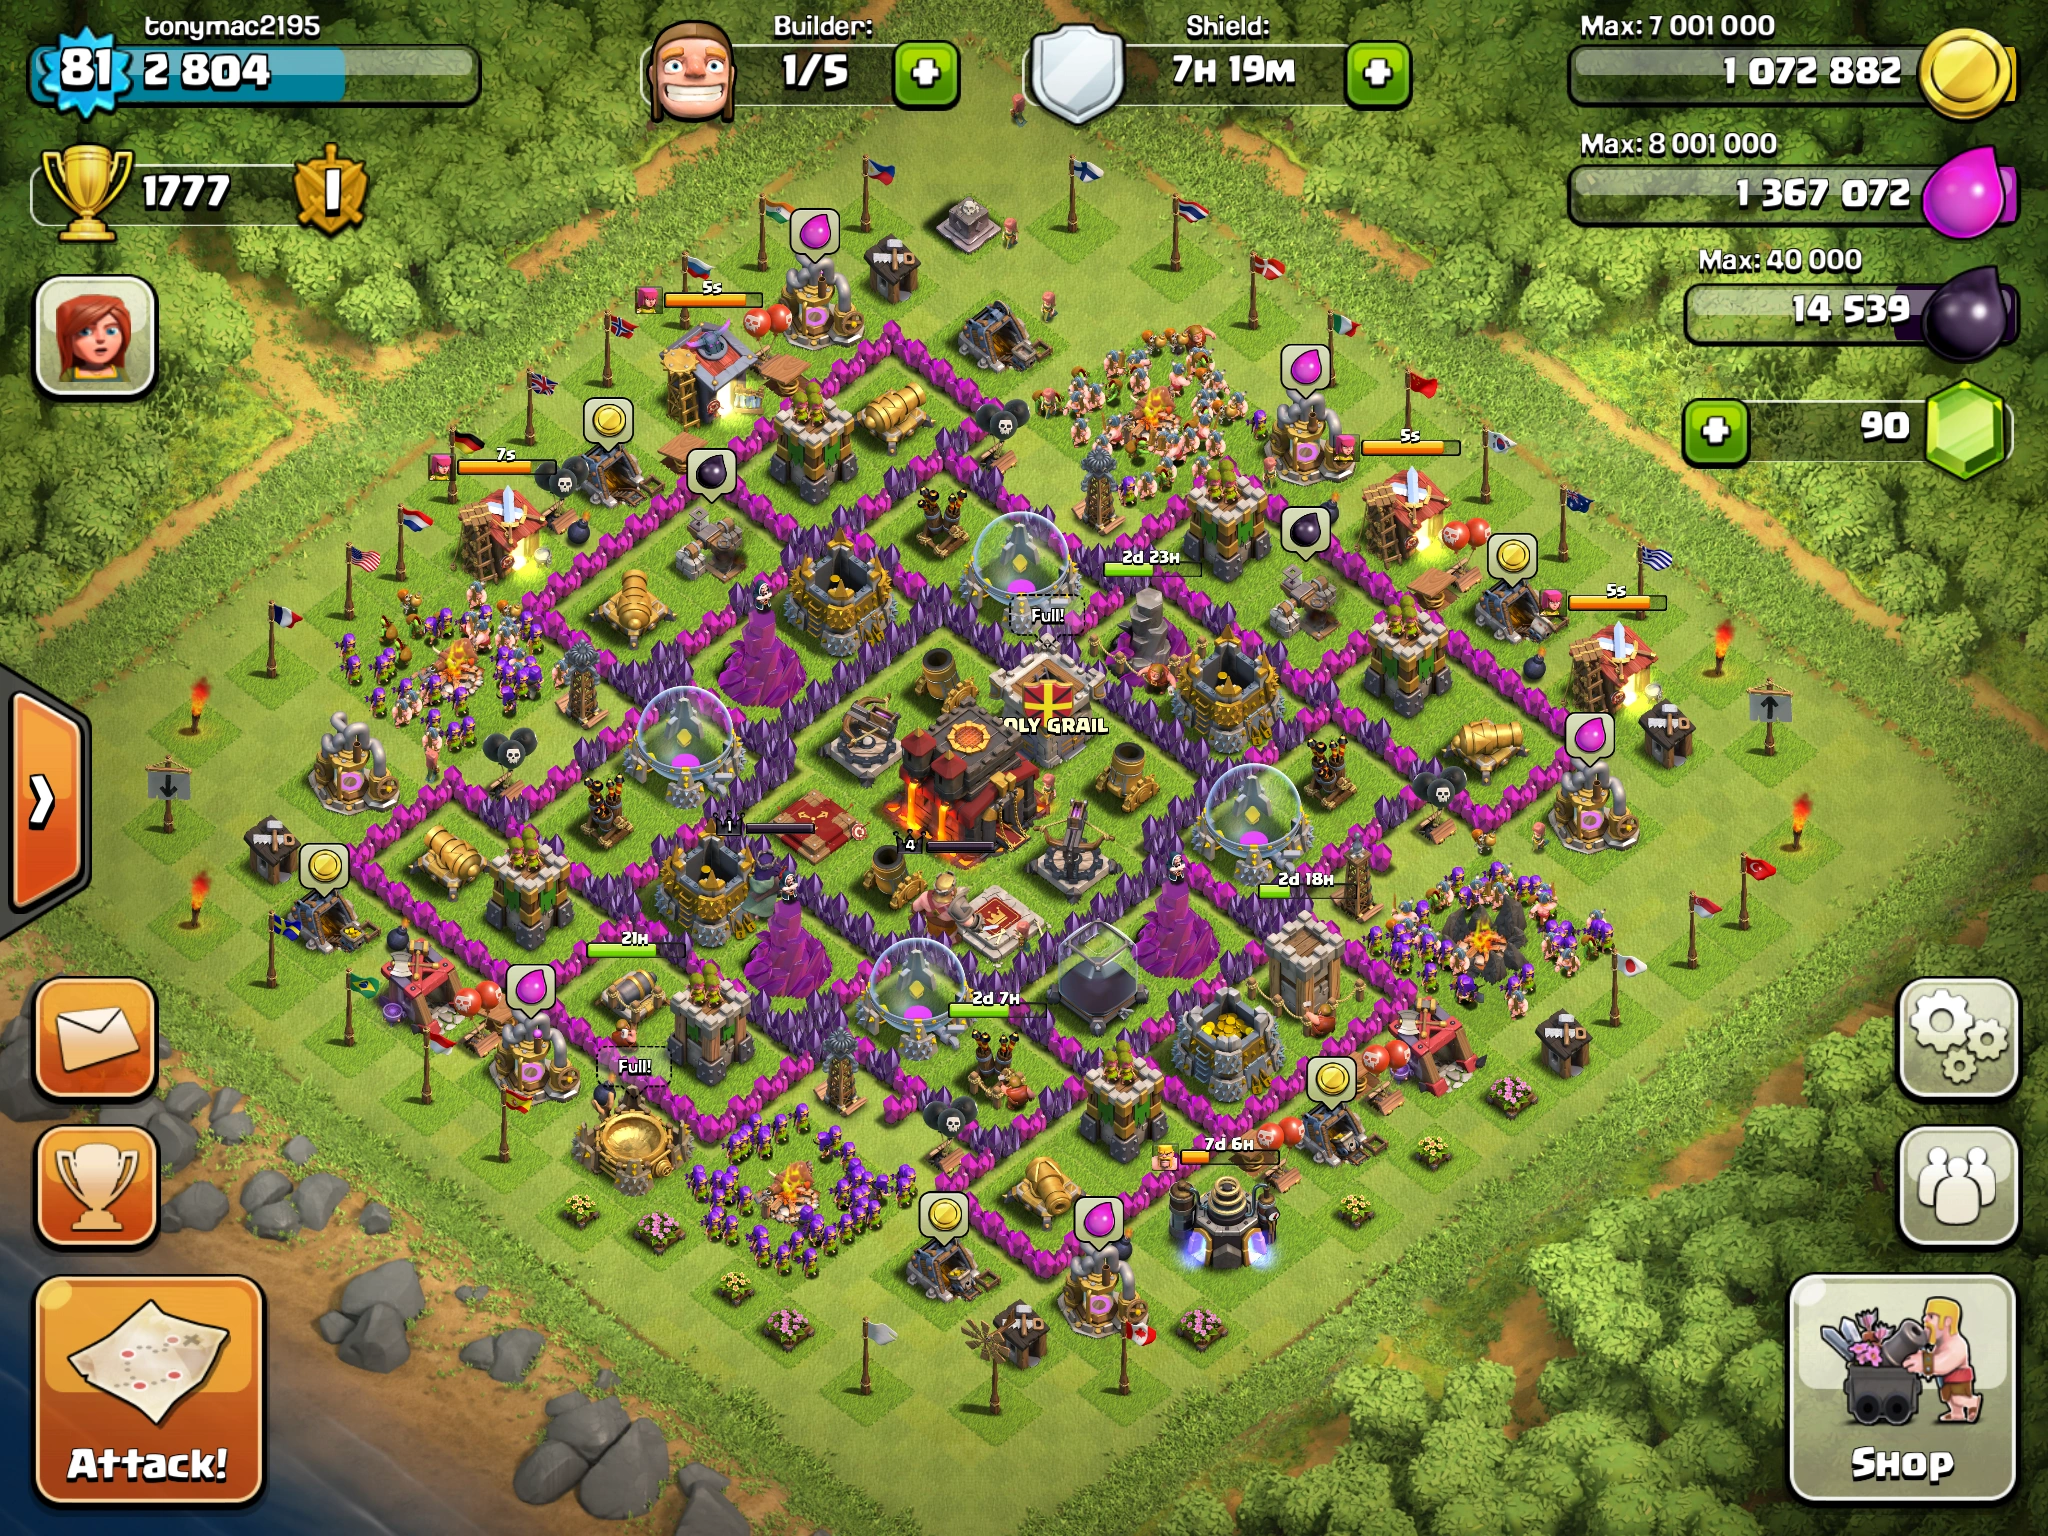
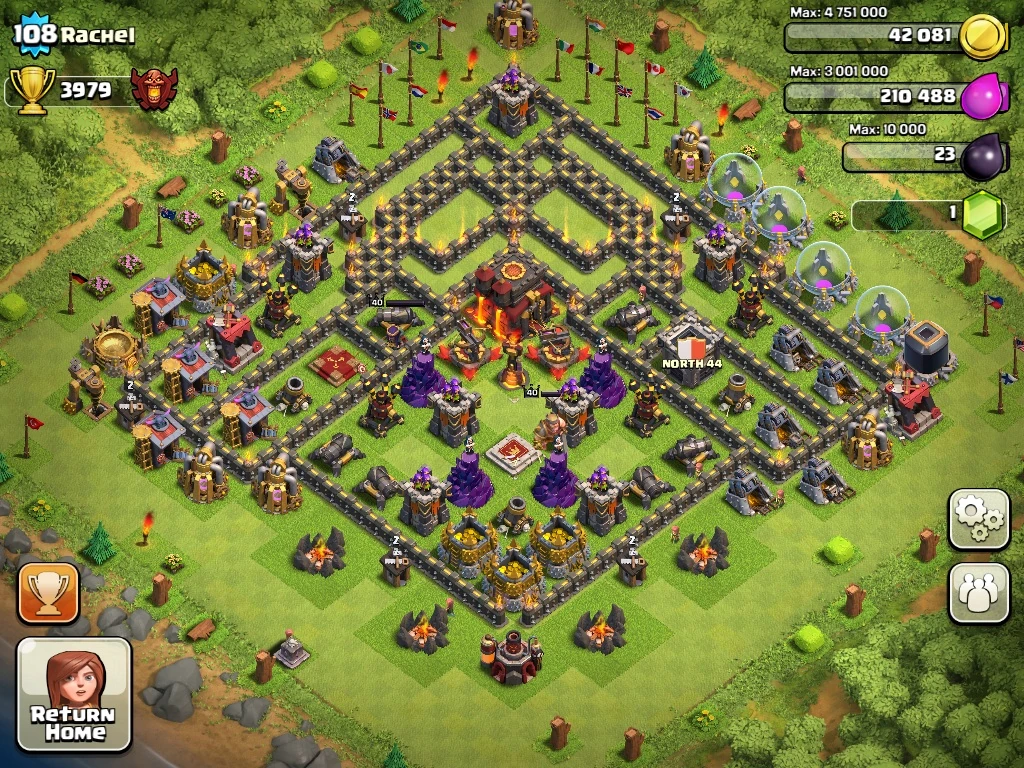
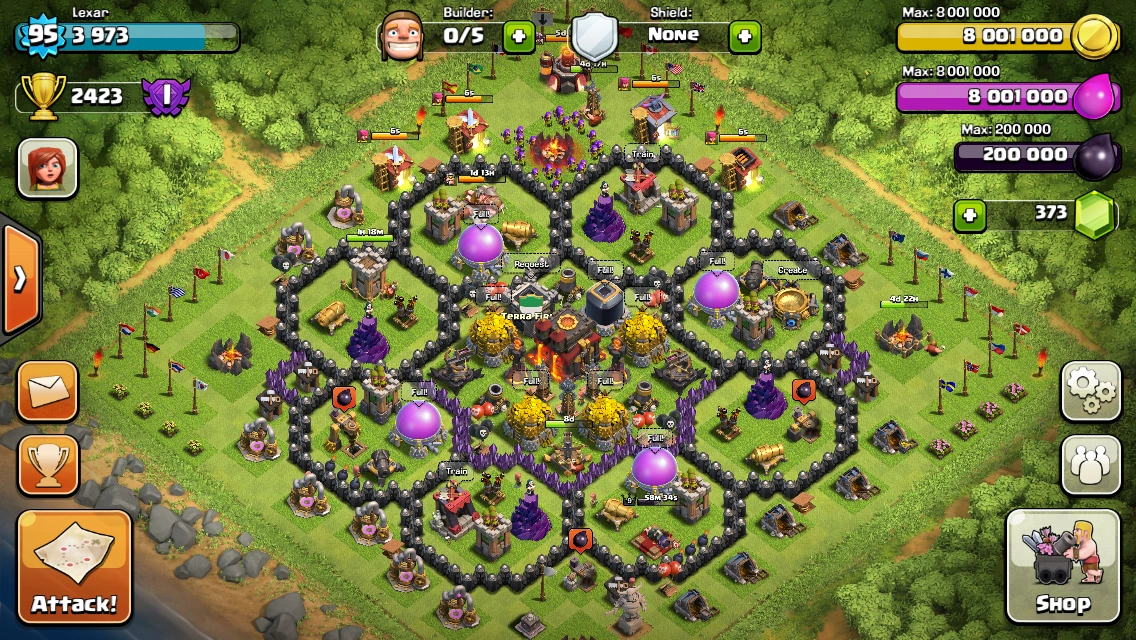
This is a page in which you can see good layouts which that may be able withstand against aggressive attacks. In addition, if you have defensive strategies that will help people, we recommend that you post them here instead of the
You page.
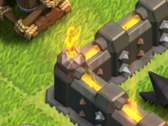
Remember the new
Wall Breaker will not be affected by spikes (spiking) unless there is a structure directly behind the
wall; this is the only exception in which the
Wall Breaker will go for the spike instead of the main
wall.
In addition,
Wall Breakers have a larger blast radius, so they can penetrate through two layers of
walls.
Defense Against the Updated Wall Breaker
In the update the
Wall Breakers now target
walls that enclose
Buildings; this means they ignore and go around free-standing
walls. Updated
Wall Breakers don't just go to the nearest
wall; instead they go to the nearest compartment. Use this to your advantage by channeling them into gaps, where your carefully laid
Traps can instantly kill them. This method can also help defend against other
Troops, such as
Giants. In addition, the more time the
Wall Breakers (and other
Troops) spend moving and not attacking, the more opportunities your
defenses have to kill them.
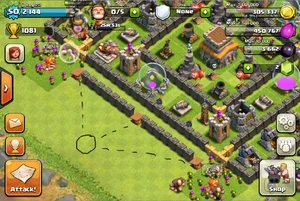
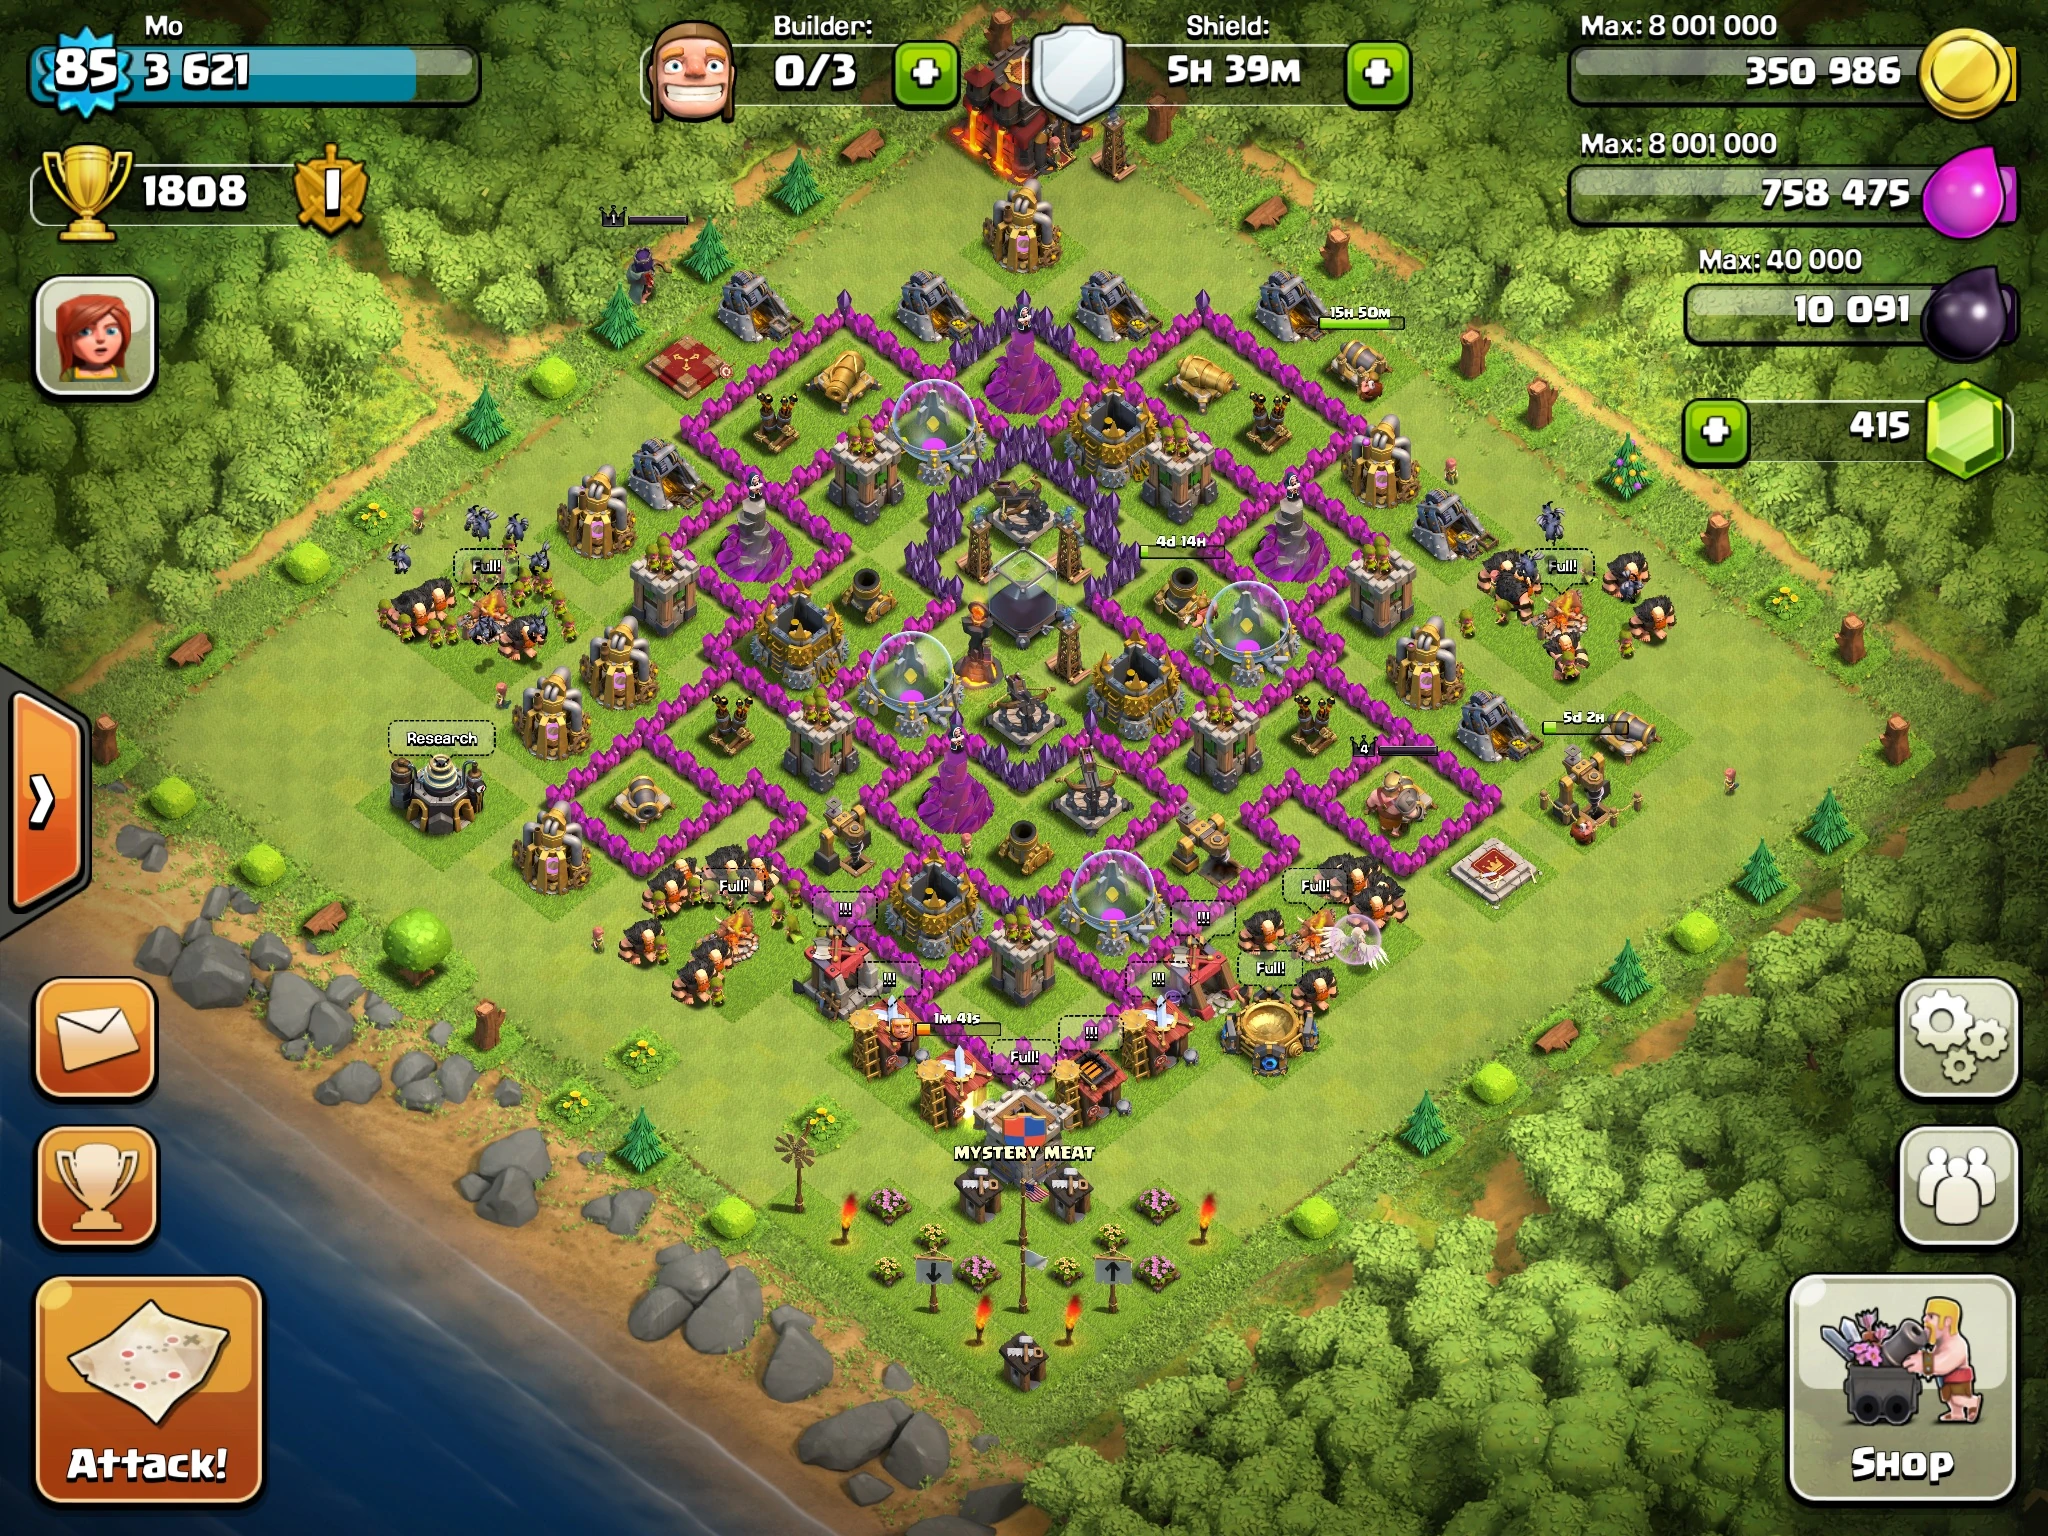
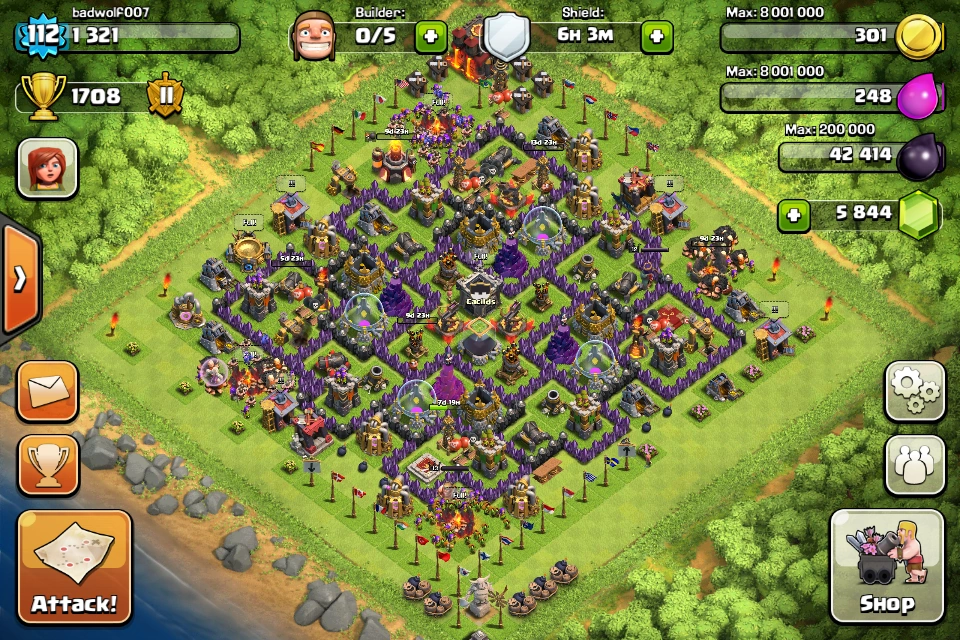
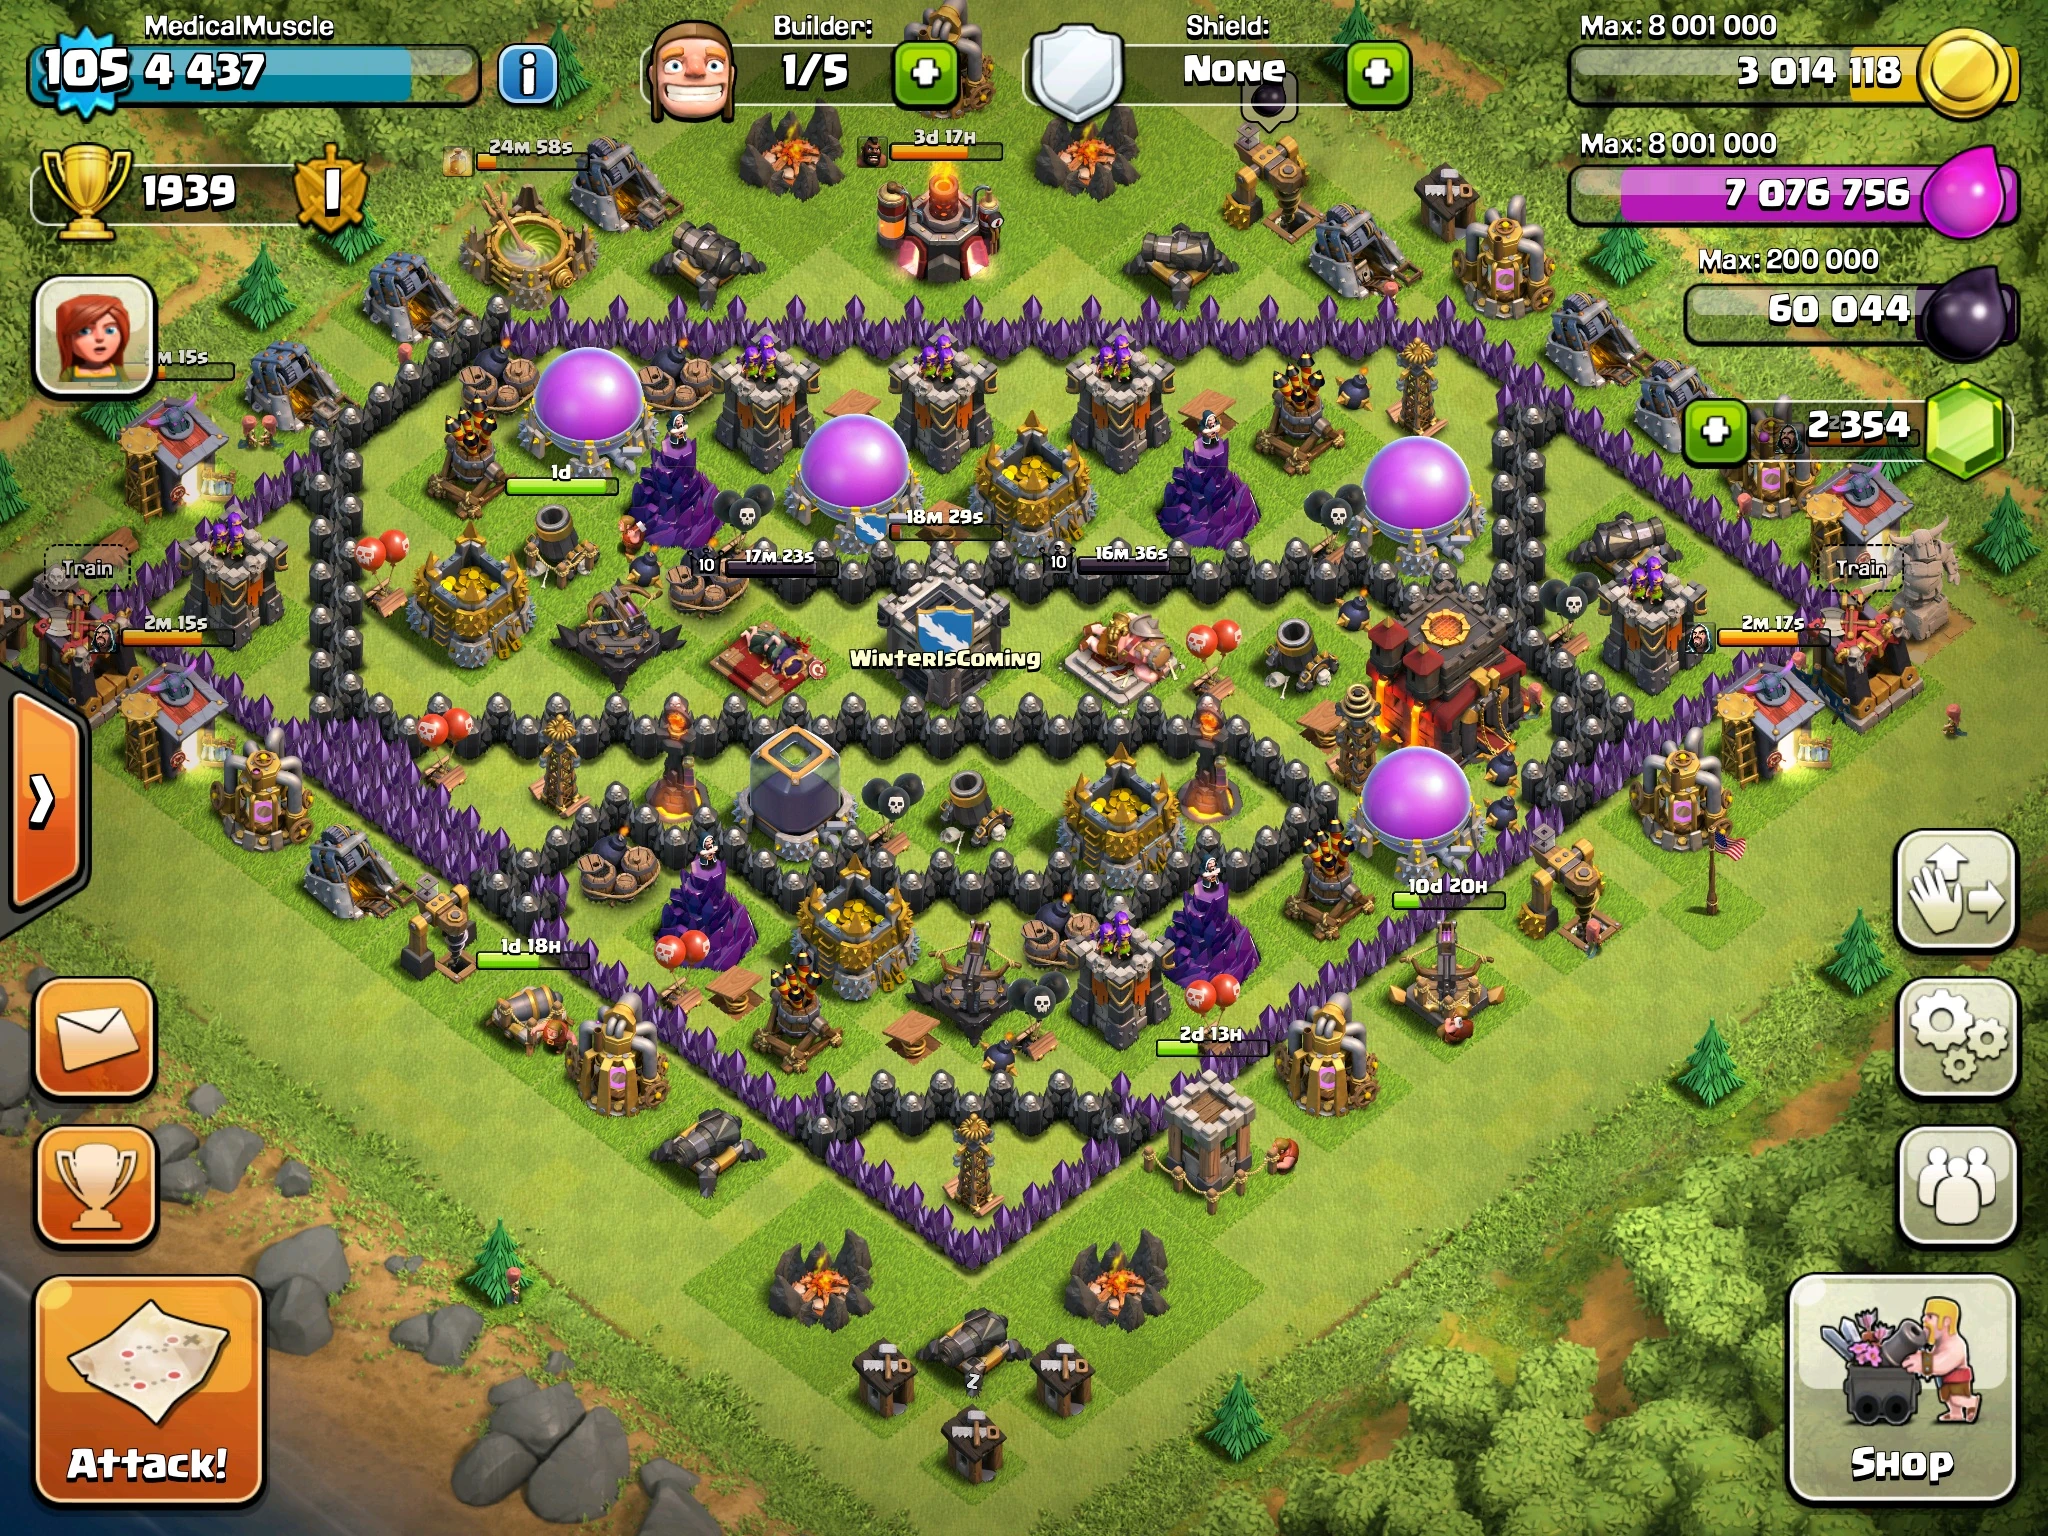
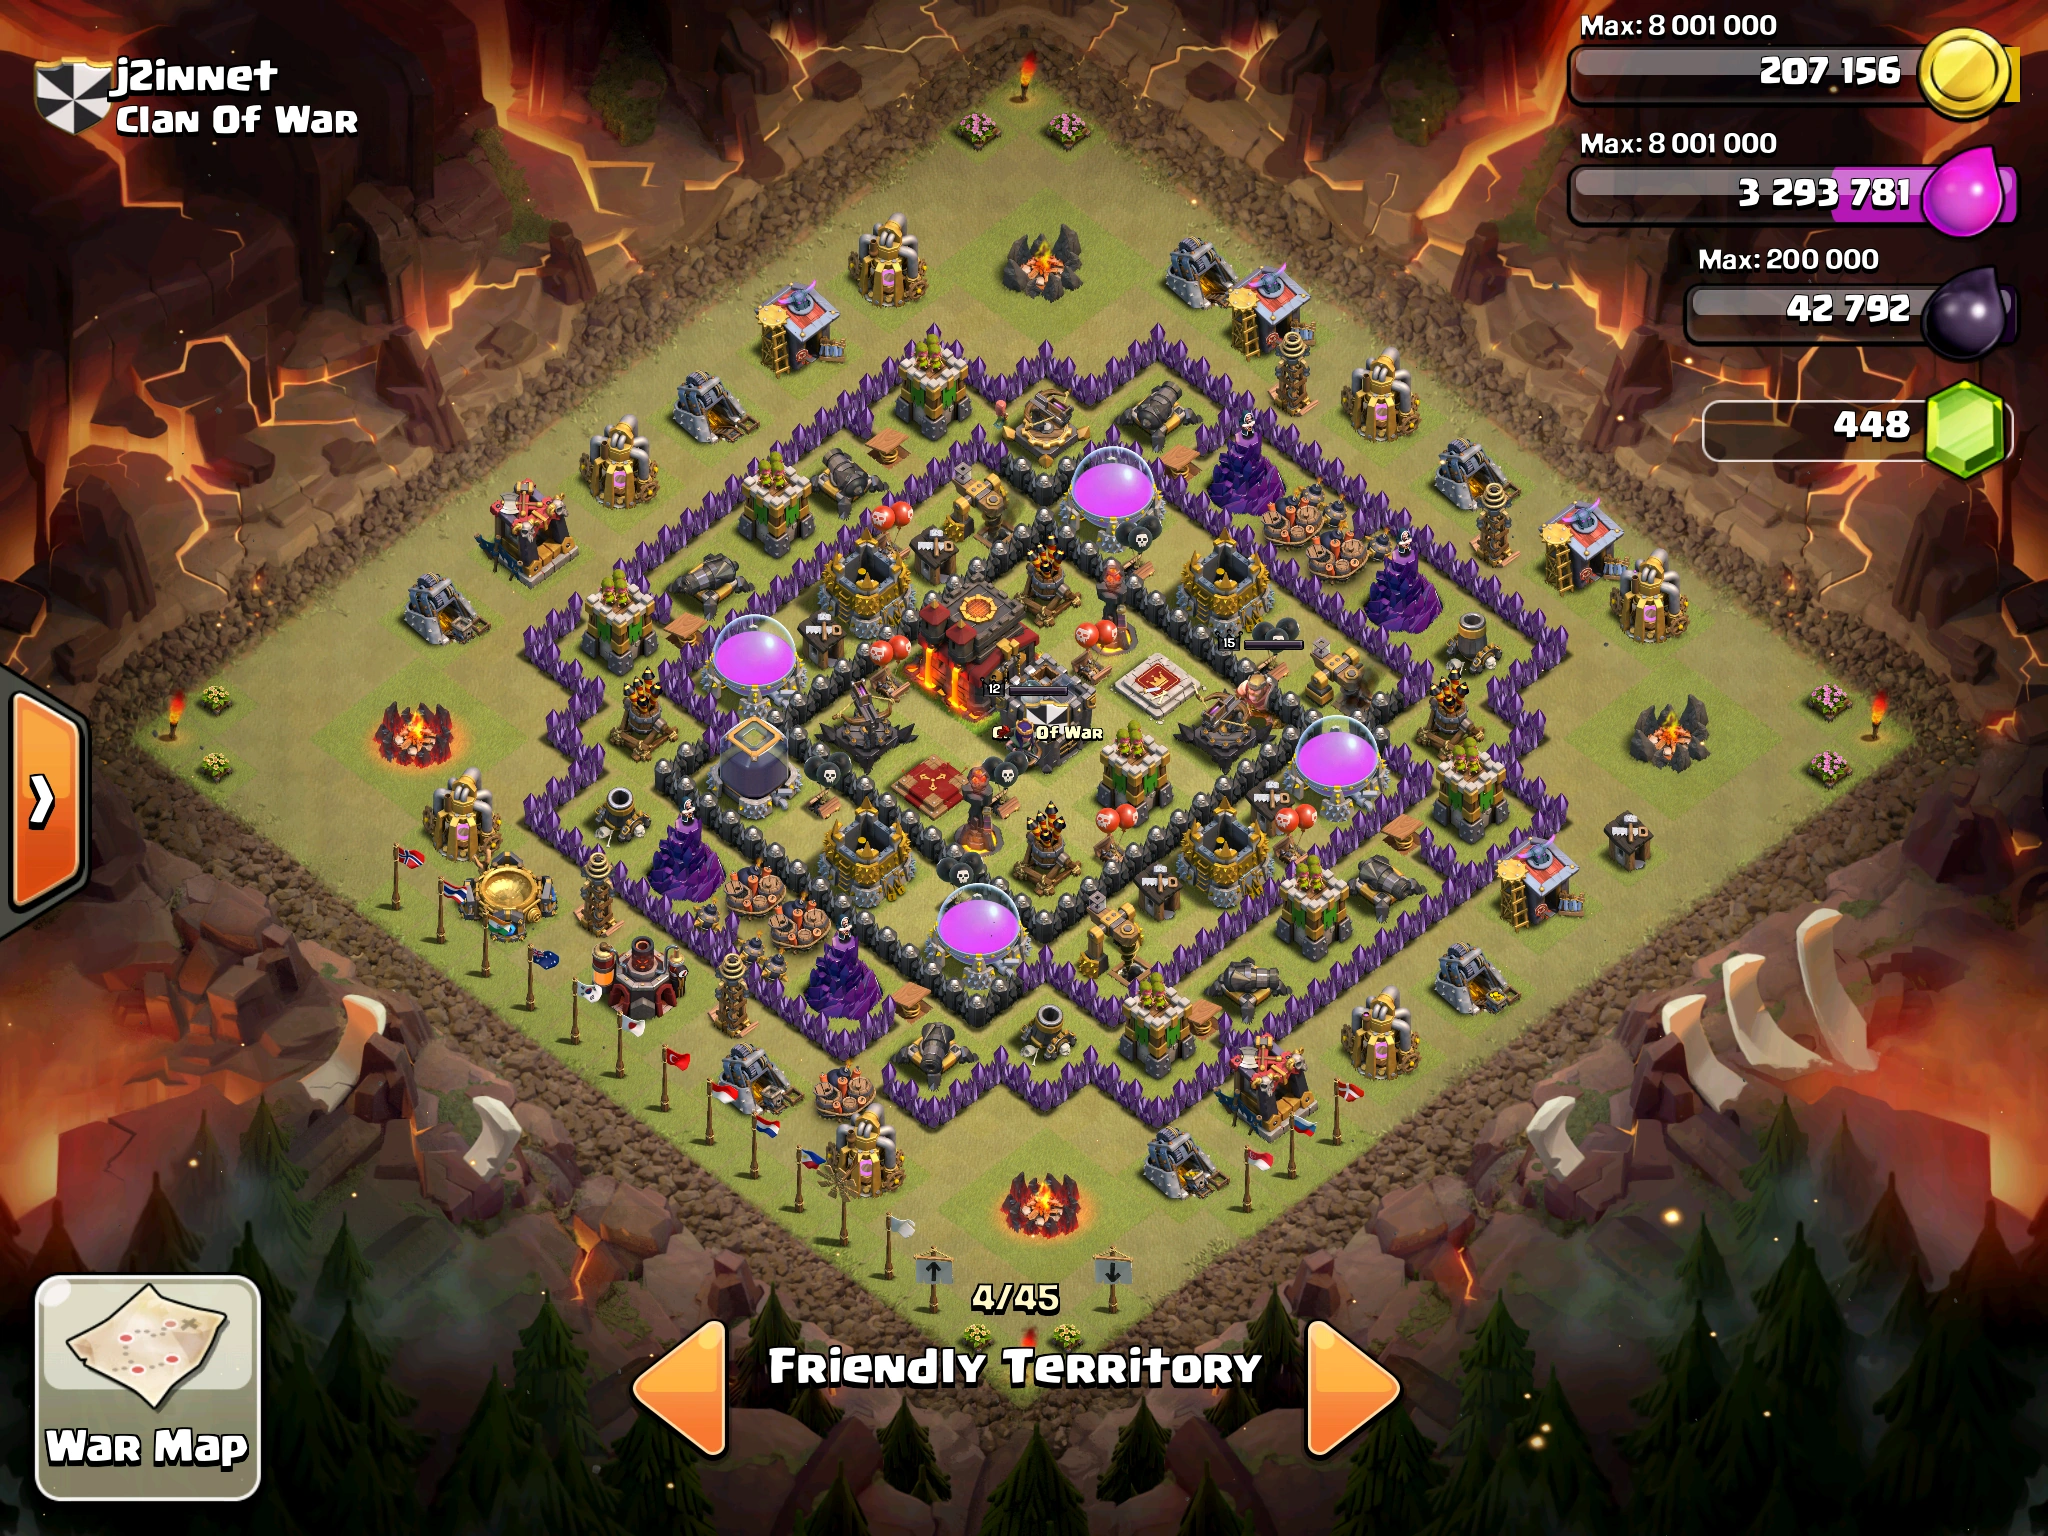
Wall Layouts in Bases
Base layouts can be divided into two basic commonly used categories: Symmetrical and asymmetrical. Most bases have some amount of symmetry, whether they are partially, bilaterally or quadrilaterally symmetrical; others are bilaterally mirrored. They can be further divided by their basic defensive concept. Here are a few:
- Single Wall: A single wall surrounding all or most of the buildings. Note:Archer raids work well against single layered walls and very exposed to Wall Breakers. Overall, usually a fairly easy base to destroy.
Double Wall: Same as a single wall except it has another layer (separated by at least a single-tile gap) on the outside of it. It prevents Archers from shooting over it and prevents Wall Breakers from penetrating both layers.
- Note: Archers have a three-tile (wall) range.
- Double- or Multi-Layered Wall: A portion or all of a wall segment with multiple layers. Note: Wall Breakers have splash damage that can break up to triple wall layers as if they were a single layer, so it is recommended not to use them, at least not as part of the outer layer or two where Wall Breakers can typically target them.
- Inner and Outer Wall: As the name implies, an inner wall protects the most valuable structures, with an outer wall fully or partially enclosing the inner wall and its associated defenses. It is essential to have yourTown Hall at the middle of this type of base rather than outside of your base (this differs from people who are "farmers").
- The Egg-Shell Defense: Multi-layered walls (usually 3 or more layers thick) in the center of the map with most buildings outside the wall and resources (possibly Town Hall) inside the wall. This concept is generally used for farming villages.
- Compartmentalizing, Enclosing or Section Defense: This manifests in different ways. The basic concept is to have various compartments of one or more buildings. It helps a lot to have multiple compartments inside your base as each must be breached separately, greatly slowing down attackers and making it difficult for Wall Breakers to reach the inner compartments in order to blow up the walls. Two walls together without any space in between isn't a good idea. It may stop archers, but a wall breaker's splash damage will destroy both of the walls.
- Gaps and spring traps: Leaving a few gaps is OK. You can place spring traps in between them to make troops fly into the air. Leaving too many gaps could result in your base becoming too easy to navigate. A few is good; too many is bad.
It is a good idea to have your outer
walls upgraded to at least level 7 to slow down your invading enemies. This is the point at which a single
Wall Breaker cannot destroy it, regardless of the
Wall Breaker's level.
What to Put Inside Your Walls and Why
- Splash Damage Defenses. Why? Because this way, when you are being raided, the attacker's troops will constantly be hammered by your Mortars and Wizard Towers. Splash damage defenses have an advantage over other defenses, such as Cannons, because those can only target one troop at a time, where as Mortars and Wizard Towers can deal damage to multiple troops in a certain area.
- Air Defenses. Why? If your Air Defense is unprotected, it allows attackers to easily destroy it with a just a few Giants, and then your primary aerial defenses are gone. This allows the attacker to put down hordes of Balloons, Dragons, Minions and/or Healers without worrying too much about them being destroyed because the Air Defense is really the only defense that works extremely well against air units.
- Gold, Elixir and Dark Elixir Storages. Why? This is fairly arguable. If you are really trophy pushing, then feel free to put your storages out in the open to gain some quick trophies from a farmer who wants your loot. Also, it can gain you some trophies if you don't really need that specific resource as much. (ex: Elixir) But because these storages hold all (or almost all) of your resources, you'll probably want to keep them well protected. Without your resources, you can't train troops, upgrade buildings or do just about anything else in the game.
- Town Hall. Why? As of the December 2015 update, the Town Hall serves as a storage holding significant amounts of Gold, Elixir and Dark Elixir. As its destruction no longer grants a shield, coupled with the fact that it holds a sizable amount of resources, it should always be kept inside.
- Other Defenses. Why? If you don't keep at least a few of your other defenses inside your walls, you will be defeated relatively easily. It is understandable that one may not have as many walls as are required to do so, but it is best to keep your highest level defenses within walls whenever possible.
- Dark Elixir Drills. Why? Because they store your Dark Elixir when you are not online and it would be sad if it were to be lost (75% of Dark Elixir can be stolen from it)
- Clan Castle. Why? Troops in your clan castle will be able to defend different areas, gives archers and wizards walls to hide behind, and makes it harder for opponents to lure your troops out into the open space where there are no defenses.
What NOT to Put Inside Your Walls and Why
- Army Camps, Barracks, Spell Factory and Laboratory. Why? Because these buildings have no real purpose when you're being raided (other than a percentage to gain Trophies/3 stars) to keep them within your valuable wall space.
- Upgrading-Defensive Buildings. When Defensive Buildings are being upgraded, they cannot function or assist in defending your base. Instead, (especially in the core of your base) they may just prove to be detrimental, attracting troops, particularly those that target Defensive Buildings. Switching these with other buildings (I would use Barracks instead of Gold Mines or Elixir Collectors, for reasons on below posts) may distract these defense-targeting troops, such as Golem/Golemites, Hog Riders, Lava Hound/Lava Pups, or Giants! Letting these upgrading-Defensive Buildings occupy the interior of your base does not help you at all. Though many consider this trivial, you have to remember that every little thing counts; It could be the difference between a devastating raid or a successful defense!
- Gold Mines, Elixir Collectors (and potentially Dark Elixir Drills, though see previous section). Why? If you normally play every day, there shouldn't be all that many resources in your collectors. Therefore there's not really a need to keep them inside your walls, even if you don't play very often. In addition, Goblins will be attracted to interior Gold Mines and Elixir Collectors, making it easier for the raider to access your inner Gold Storages or Elixir Storages. If you are a hardcore farmer you may want to consider keeping these within your walls, but it is strongly advised to use your walls for more important buildings such asCannons or other defenses. Perhaps the only time you should consider keeping collectors inside yourwalls is if you are using a boost on them.
- Put your Gold Mines and Elixir Collectors at a slight distance from the wall and have either a Mortar orArcher Tower inside the wall. Put a small Bomb at a slight distance from where you put your Gold Minesand Elixir Collectors. This will distract any opponent that usually deploys an Archer in order to lure yourClan Castle troops towards attacking troops in order to kill them. The key is to have as little areas as possible on your base from which the opponent can lure your Clan Castle troops far enough from your defenses. Experienced attackers will deploy their troops slowly in selective parts of your base.
- Builder's Huts. Why? Builder's Huts are basically just a hut your Builder sleeps in when he's not working on something. It has no defensive capability whatsoever, so there's no reason to put it inside your walls. One exception would be to place one temporarily inside your walls to take space of at least 3x3 that you're saving for another building. Another exception is to protect these buildings making a 1 star 50% win more difficult for your opponents.
- Decorations. Why? Because they just waste space you could have used for something important, and could actually create a back door for enemies to place troops behind your defenses if the area they are in is at least 3x3 (see paragraph below).
Other Wall Info
Obstacles (trees, bushes, stones, etc.) cannot be used as walls or barriers! Troops can be placed directly on top of them, in front of them, or behind them! The same goes for Decorations (flags, torches, etc.) and Traps(Bombs, Spring Traps, etc.) and even Hidden Teslas. None of these (with the exception of Hidden Teslas, which are hidden buildings) actually have hit points like your buildings do either. Neither do they count as building space when you're under attack (even the Hidden Teslas, until they are revealed). For example, if you have a large area of at least 3x3 with only decorations or traps within that area, enemy troops can be placed directly into the area where those Decorations, Traps or Obstacles are during an attack on your village
Advice
Base Types
There are many different types of bases that you can make in Clash of Clans and it is vital that you make a well designed base for the job that you want it to do.
[1] There are therefore a few fundamental rules that you must follow in order to achieve a good design.
Hybrid Bases
- Most common type of base.
- Aim: To protect both trophies and resources.
- Air Defenses and Mortars need to be well spread, but they are normally also fairly centralised as well.
- Everything in middle.
- Consider what to protect the most.
- You can have an interchangeable layout so you can swap storages with defences so that different things are more heavily protected.
- Another thing you may wish to do is to place wizard towers around storages and within range of each other. This way you can destroy hordes and goblins easily.
- It is also recommended that you have your clan castle and barbarian king as central as possible, so they can cover your entire base. Prioritise the positioning of these defences over cannons or archer towers, which can be placed on the outskirts of your base.
- Most Hybrid bases are segmented by walls so that each compartment isn’t very big. This is a good idea so that the enemy doesn’t steal all resources and destroy your town hall all at once. Spread out your valuables so they can’t steal it all at once. However, make sure they are still well protected. If you are a high enough level, make sure your storages aren’t in the outermost part of your base. Make any attacker have to go through at least two walls to get to a storage.
Farming Bases
Defensive Bases
- Aim: Protect Trophies
- The town hall is normally situated in a main compartment with the clan castle air defense, mortars and if you are a higher level, x-bow and inferno tower. This means that whatever level you are, you need to have a centralized town hall that is heavily protected.
- There are also normally a few walled layers between the town hall and the edge of the base. This may have defensive buildings inside or it maybe one space between walls to make attacking troops destroy another wall layer. Either of these methods is an effective way of slowing down potential attackers.
- You also need to make sure that you don’t expose too much of your base as well as you can lose trophies at the one star stage of over 50% damage to your base. So you need to make sure that enough buildings are walled around but there are enough layers of walls to protect your town hall. It is a tricky compromise.
- However, you can lure attacking armies by placing your storages outside your walls. This will, of course, lead to major resource loss. If you are clever in your placement, you can cause significant damage to their army while they take your resources. You need to make a slight open inlet into your base where the storages are placed. Surround these with defenses so when the army is lured, you can almost wipe them out and keep overall base damage percentage low. They might not always target that bit, so you will need to ensure that the rest of your base is still sufficiently protected.
- Conclusion
Whatever base layout you choose to make, always look back afterwards and think how you would defeat your own base. Ask yourself how you can improve it. Remember that there is no such thing as the perfect base; you just need to prioritize what you want. Also, try out each base type and see which works best for you.


")